
In this post, we’ll build a simple embedded Linux web kiosk that can run on devices, based on Yocto and the Chromium browser. Chromium has a great rendering engine, but is also quite resource hungry. On a small device a browser like Midori might be a better choice.
Before you start, it’s good to know that this build demands quite a lot of resources on the build machine. You’ll need:
- 8gb of RAM. Setting up some swap is not a bad idea when doing parallel builds.
- About 100GB of disk space.
- As many cores as you can spare to speed things up. Bitbake will, by default, spawn one task per core. You can tune this using the BB_NUMBER_THREADS (for the amount of tasks to run in parallel) and PARALLEL_MAKE (to configure parallel compilation) variables.
We’ll be building a Yocto-based repository from scratch, rather than modifying Poky. We’ll use git submodules to manage the Bitbake layers we need.
Initial setup
Let’s start by creating our repository:
mkdir yocto-kiosk && cd yocto-kiosk
git init
Then we add the bare OpenEmbedded essentials to start building our distro on. We’ll be using the (at time of writing) latest Yocto release codenamed honister and the Bitbake release that works with it.
git submodule add -b honister https://git.openembedded.org/openembedded-core
git submodule add -b 1.52 https://git.openembedded.org/bitbake
Now we add the meta-browser/meta-chromium Bitbake layer, which include recipes for Firefox and Chromium. This layer depends on meta-openembedded/meta-oe as well as meta-clang, because Chromium requires clang to build.
We check them out first:
git submodule add -b honister https://git.openembedded.org/meta-openembedded
git submodule add -b honister https://github.com/kraj/meta-clang
git submodule add https://github.com/OSSystems/meta-browser.git
Then, we initialize our OpenEmbedded build environment and add the Bitbake layers we just cloned:
source openembedded-core/oe-init-build-env
bitbake-layers add-layer ../meta-clang
bitbake-layers add-layer ../meta-openembedded/meta-oe/
bitbake-layers add-layer ../meta-browser/meta-chromium
Please note: from this point on, all paths in this post will be relative to the build directory (which the oe-init-build-env script will drop you in).
Next, let’s configure our build target. The default qemu targets are convenient to test your setup before adding the complexity of a BSP (a MACHINE in OpenEmbedded terms) and running on real hardware. In conf/local.conf, uncomment:
MACHINE ?= "qemuarm64"
Customizing the image
We’ll need to create an image and distro configuration to set up the image for our needs. Let’s create and set up a new layer:
bitbake-layers create-layer ../meta-kiosk
bitbake-layers add-layer ../meta-kiosk

mkdir -p ../meta-kiosk/recipes-core/images/
Now, we create the recipe for our target image, named kiosk-image.
Create ../meta-kiosk/recipes-core/images/kiosk-image.bb with these contents:
SUMMARY = "Kiosk image"

LICENSE = "CLOSED"

inherit core-image

# Include and build the Chromium package and X
IMAGE_INSTALL:append = " chromium-x11"
IMAGE_FEATURES:append = " x11-base hwcodecs"
Now, we need to create a distro config.
mkdir -p ../meta-kiosk/conf/distro/
Create ../meta-kiosk/conf/distro/kiosk-distro.conf:
DISTRO_NAME = "kiosk-distro"
DISTRO_VERSION = "1.0"
# Chromium requires OpenGL and X11.
# I like to use systemd, but you don't have to.
DISTRO_FEATURES:append = " opengl x11 systemd"
# This disables audio. Feel free to enable it if your device supports it.
DISTRO_FEATURES:remove = "pulseaudio"

# Set systemd as init system
VIRTUAL-RUNTIME_init_manager = "systemd"
VIRTUAL-RUNTIME_initscripts = "systemd-compat-units"

# Build Chromium with kiosk mode enabled.
PACKAGECONFIG:append:pn-chromium-x11 = " kiosk-mode"
See the Yocto manual for more information on distro configuration, PACKAGECONFIG.
To select our new distro config, add a DISTRO line to conf/local.conf:
DISTRO = "kiosk-distro"
Now, we’re ready to build for the first time! To start the build, run:
bitbake kiosk-image
Please note this will take a very long time. Go watch a movie or two or even go on a weekend away to Paris, depending on the performance of your build system. Chromium itself is huge but also has a lot of heavy build and runtime dependencies; i.e. X11, OpenGL, NodeJS, a clang toolchain and a lot more bits and pieces. All of this, and their dependencies, will need to be built. On a 4-core Xeon system, this took about 12 hours for me.
Of course; bitbake is an incremental build system, so if you make changes later this will not take nearly as long.
When all this is done, you can start the image. If you’re using the a qemu MACHINE, just run runqemu. If everything works well, you’ll be greeted with an X session running the default Matchbox WM:
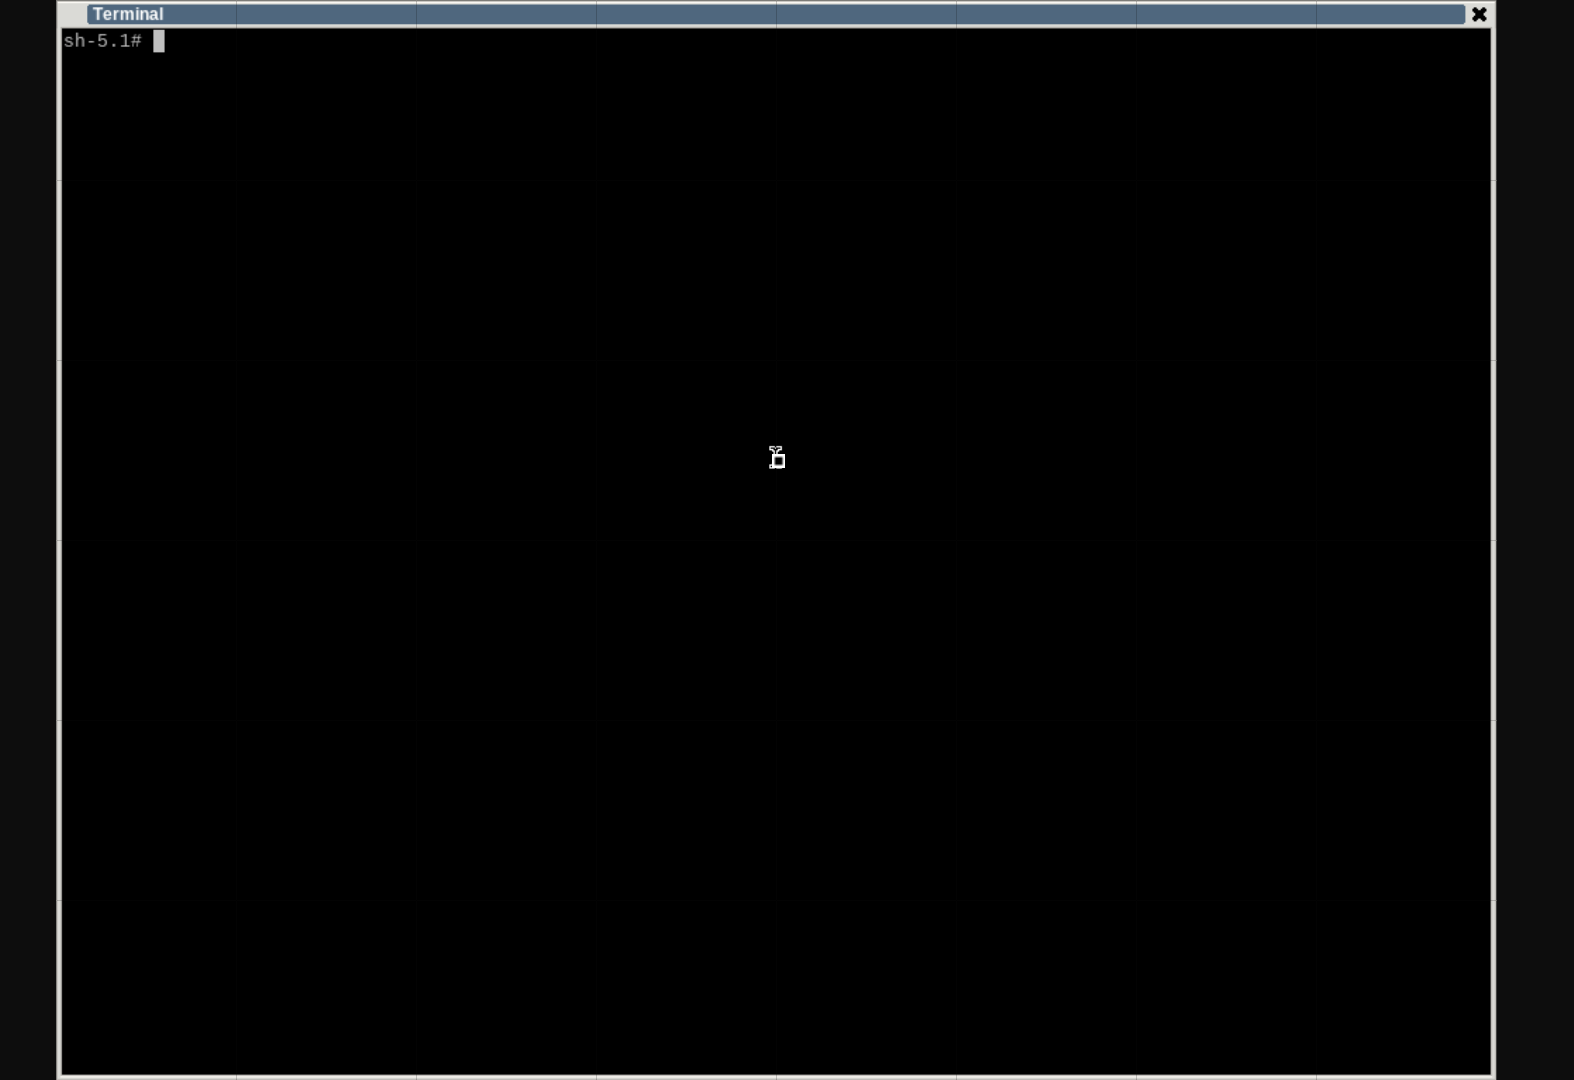
You can test Chromium by running it from the terminal:
chromium --no-sandbox
The browser should open fullscreen without any bars visible; indicating that kiosk mode is enabled properly.
Locking things down a bit
Running a browser as root is not a great idea obviously, even if the machine is a dedicated web kiosk. Besides; Chromium can’t run with sandbox enabled as root.
So; let us add a non-privileged user. You can use the extrausers class for this.
Change the kiosk-image.bb recipe:
SUMMARY = "Kiosk image"
LICENSE = "CLOSED"

inherit core-image extrausers

# Create low-privileged user 'kiosk'
EXTRA_USERS_PARAMS = "useradd -m kiosk;"

# Include and build the Chromium package and X
IMAGE_INSTALL:append = " chromium-x11"
IMAGE_FEATURES:append = " x11-base hwcodecs"
If you want, you can rebuild the image and test the new user: su -l -c "chromium kernel.org" kiosk.
For more information, see the Yocto manual on extrausers.bbclass.
Auto-starting Chromium
Let’s make our image start Chromium after boot now. OpenEmbedded has it’s own tiny X session manager which is selected and installed from the x11-base package group we selected earlier.
The session manager is just a shell script. Reading it reveals we can override it using /etc/mini_x/session, so let’s do that.
Create a new recipe (from the build directory) and a ‘files’ directory:
mkdir -p ../meta-kiosk/recipes-core/kiosk
mkdir -p ../meta-kiosk/recipes-core/kiosk/files
Fill ../meta-kiosk/recipes-core/kiosk/kiosk.bb like below. This is a simple recipe that just creates a directory and drops a file in it.
SUMMARY = "Kiosk"

LICENSE = "CLOSED"

RDEPENDS_${PN} = "mini-x-session"

SRC_URI:append = " file://session"
FILES_${PN} += " ${sysconfdir}/mini_x/session"

do_install() {
    install -d ${D}${sysconfdir}/mini_x
    install -m 755 ${WORKDIR}/session ${D}${sysconfdir}/mini_x/session
}
${sysconfdir} is a constant which refers to /etc. It is considered good practice to use these constants, see meta/conf/bitbake.conf.
Create the file itself, a simple shell script that launches Chromium, named ../meta-kiosk/recipes-core/kiosk-autostart/files/session:
#!/bin/sh

su -l -c "chromium kernel.org" kiosk &
# We need to also launch a WM, or Chromium will be unhappy.
exec matchbox-window-manager
Rebuild your image and it should boot straight into Chromium! Our kiosk is functional now.
Exercises left for the reader…
- Create a new or import an existing BSP to run your kiosk on actual hardware.
- If you have a touchscreen and no keyboard, you can enable an onscreen keyboard! Set
HAVE_TOUCHSCREEN=1andHAVE_KEYBOARD=0in/etc/formfactor/machconfigthrough the recipes in your BSP layer. - Configure your network for your situation. By default, DHCP is used on all interfaces.
- Add and customize a boot splash screen! You can use the psplash recipe for this.
- Use read-only filesystems and ramdisks to make sure your system boots in a clean and consistent state every time.